The CDL air brake test: 4 steps, the numbers, and what to say
The in-cab air brake check is the part of the pre-trip with exact numbers, and getting it wrong can end your test. Here are the four steps in order, the numbers to know, and the lines to say for each one.
The numbers to know
| Governor cut-out | 120 to 140 PSI |
| Applied leak test, single vehicle (Class B) | No more than 3 PSI lost in 60 seconds |
| Applied leak test, combination (Class A) | No more than 4 PSI lost in 60 seconds |
| Low air warning (buzzer and light) | Before pressure drops below 60 PSI* |
| Spring brake pop-out | Between 45 and 20 PSI |
* Some state manuals, like California's, say the warning must come on before 55 PSI. The federal standard for trucks built since 1975 is 60. Saying it came on before 60 is correct either way.
Step 1: Governor cut-out
Start the engine and let the air build. When the air dryer purges, the governor has cut out. Read both gauges.
Watch the air brake test with the gauges moving
Animated, step by step, manual and automatic, Class A and Class B, with the exact words on screen and a printable checklist.
See the Pre-Trip Video PackClass A course + videos, $29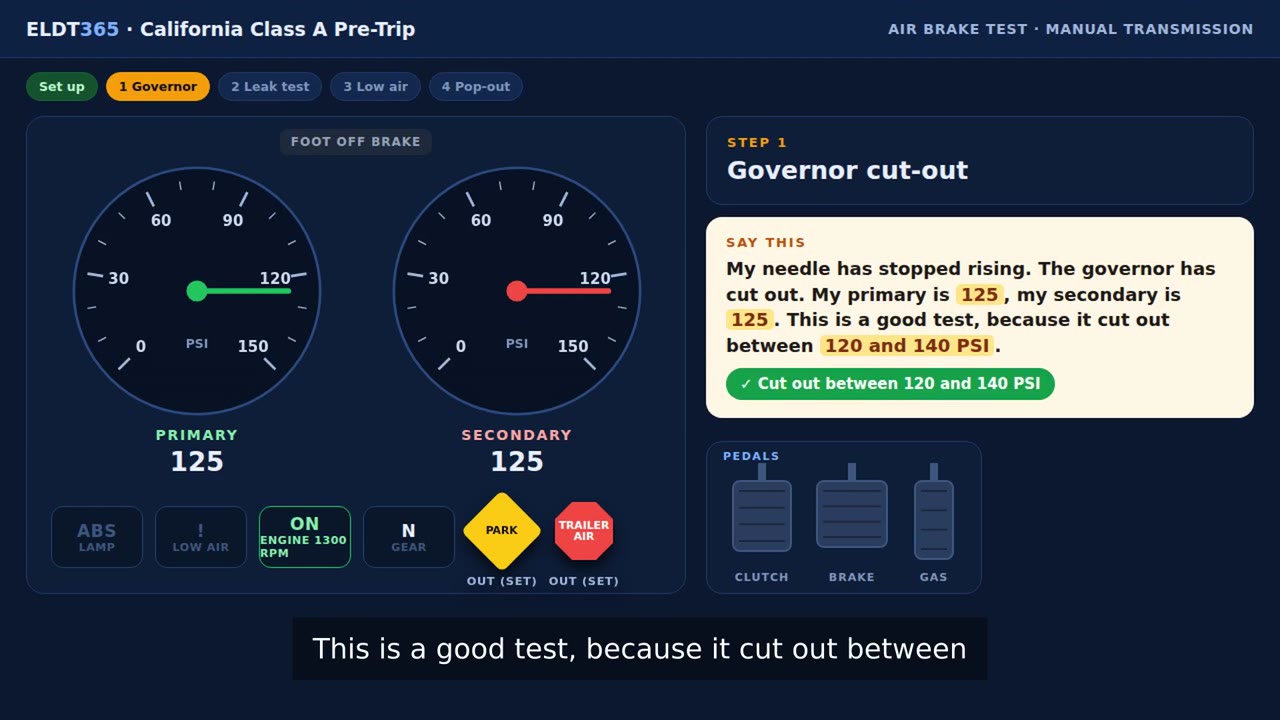
Step 2: Applied leak test
Turn the engine off, turn the key back on, release the parking brake, and hold the brake pedal down for a full minute. Watch the gauges.
Step 3: Low air warning
Pump the brake pedal to bring the air down until the buzzer and warning light come on.
Step 4: Spring brake pop-out
Keep pumping until the parking brake valve (and the trailer valve on a combination) pops out on its own.
Then: parking brake and service brake
- Parking brake: with the parking brake set, put it in a low gear and gently pull against it. The truck should not move.
- Service brake: release the parking brake, roll forward slowly, and press the brake. The truck should stop.
- Automatic transmission: chock the wheels before the air brake test, and remove the chocks before the parking and service brake checks.
Questions
Is it 3 PSI or 4 PSI?
3 PSI for a single vehicle, like a Class B truck or bus. 4 PSI for a combination, like a Class A tractor-trailer. Mixing these up is one of the most common ways people fail.
Is the low air warning 55 or 60 PSI?
The federal standard for trucks built since 1975 is 60 PSI, and some state manuals list 55. Say the number on your gauge when the buzzer comes on, and that it came on before 60. That is correct in every state.
What happens if I skip the air brake check?
Many states treat a missing or incorrect air brake check as an automatic failure of the pre-trip. Do all four steps, in order, and say each one out loud.
Ready for test day?
Animated videos for the whole pre-trip with the exact words to say, Class A and Class B, plus a printable checklist.
Get the Pre-Trip Video PackNeed your ELDT theory too?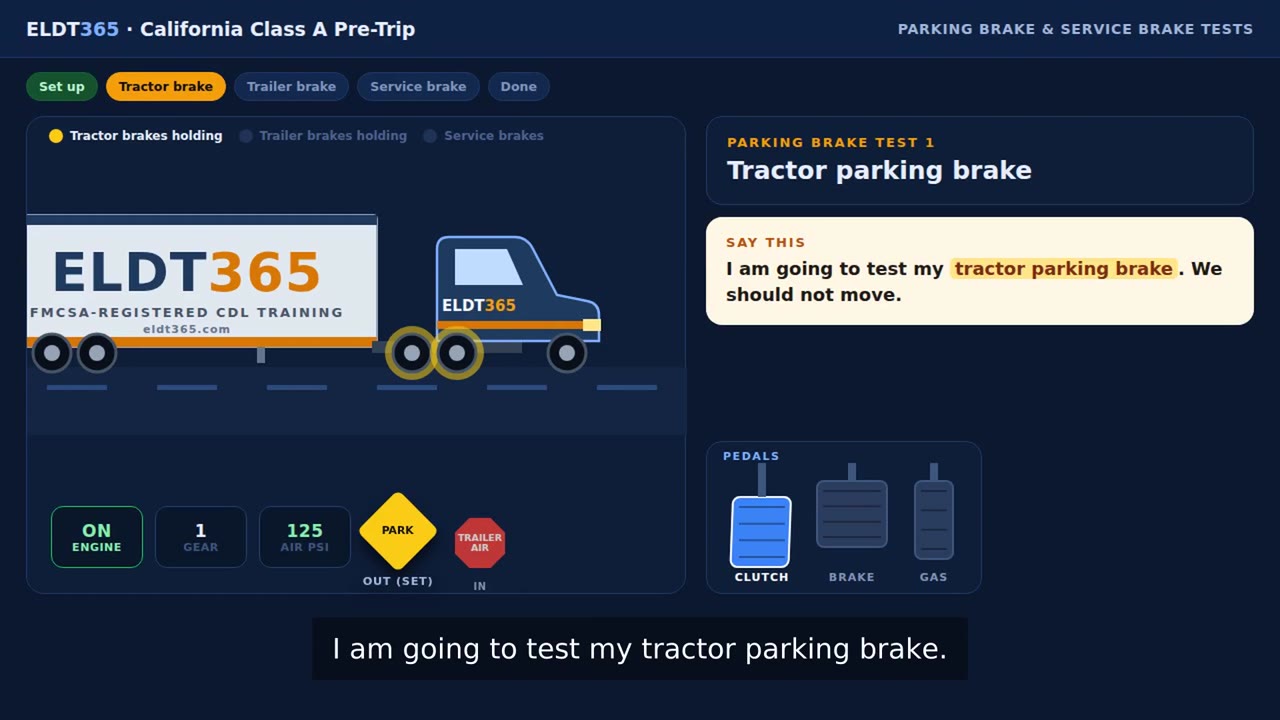
What to say on the pre-tripCalifornia pre-trip inspectionFree printable checklistFree checklist PDF
Study aid for the CDL skills test. It is not FMCSA-filed ELDT training and does not guarantee a passing score. The order follows the California checklist; check your state CDL manual for the order your examiner uses.